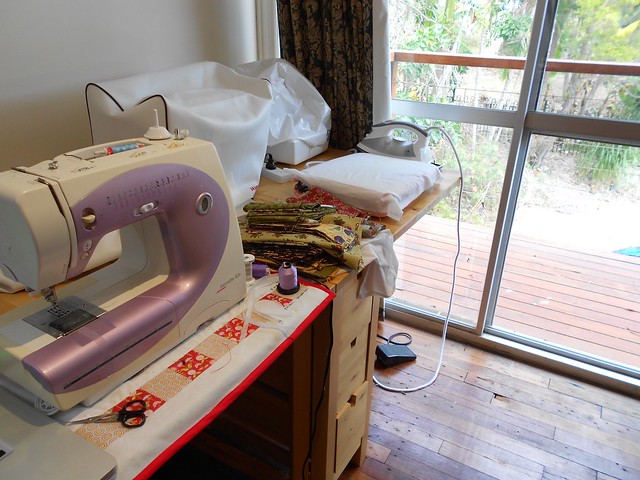
I wanted a way to speed up tracing and cutting of all the applique pieces. Hang on a minute. I better cut out all the 4 1/2 squares I need for the border before I cut up the fabric for applique pieces. It has been a while since I worked on this quilt so I was pleased to find a stack of 4 1/2 inch wide strips already cut. I must have been thinking straight when I cut the strips earlier because I ended up with 4 or 6 squares of each colour and a nice even mix of dark, medium and light fabrics.
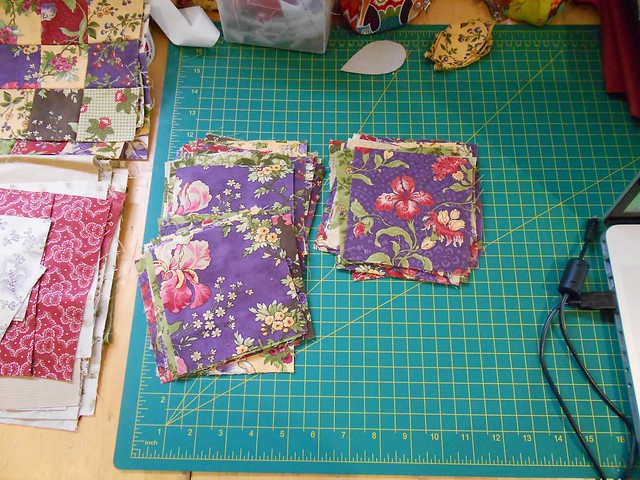 |
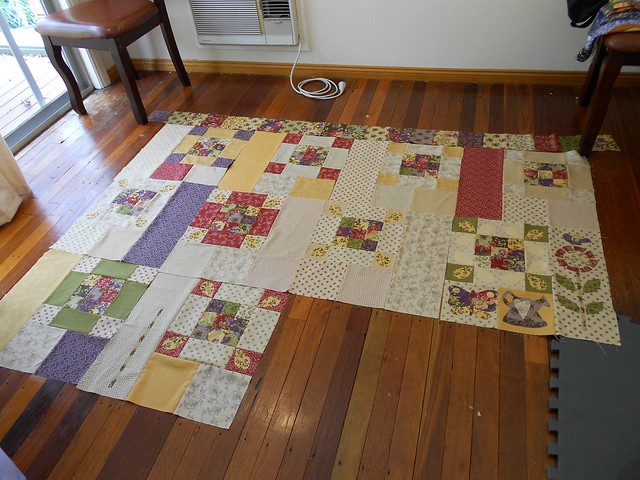
| I had sewn one side together when I took this so only 3 piles. |
I sorted them into 3 piles then into the different fabrics. I wanted 21 or 24 in a pile so I just started picking up one dark, one medium, one light until I had 4 stacks for the borders. I don't like having to think too hard about keeping them in order as I sew them together so I just sew one square at a time for each side. If I tried chain piecing them I know I would get in a muddle.
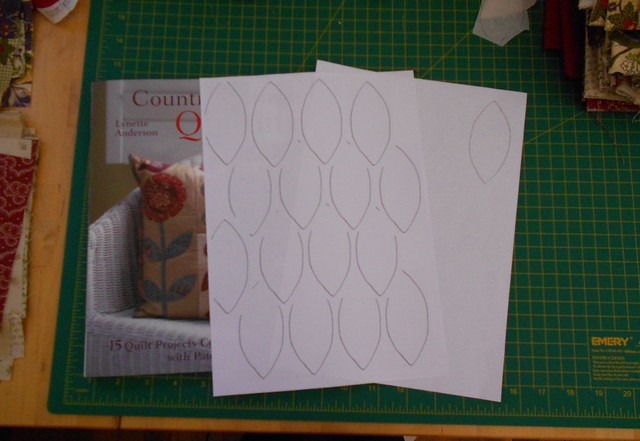
To facilitate tracing the applique pieces I fit as many as I could onto an A4 sheet. I only had two pieces left over. I then cut an A4 size piece of fusible webbing paper and traced all the pieces. I had to cut them all out so I could use them on all different fabrics.
The dotted lines are where I cut out the fusible webbing before putting it on the fabric. I keep the pieces to use one day. I figure I will prepare one set of pieces then make up one block and sew it. 8 blocks go one way and 8 block face the other way so I had to
- scan my page as a jpg;
- open it in Preview;
- flip it horizontally to reverse it;
- file print then scale to 100%, and
- print it out.
I need lots of leaves so
- I traced one leaf and scanned it as a jpg.
- After scanning I cropped it close to the lines.
- I then inserted it in my word processor (Pages) and sized it to the right size using the metric inspector in Pages.
- I then copied and pasted it many times.
- I had to set the images to floating and then arranged them close together.
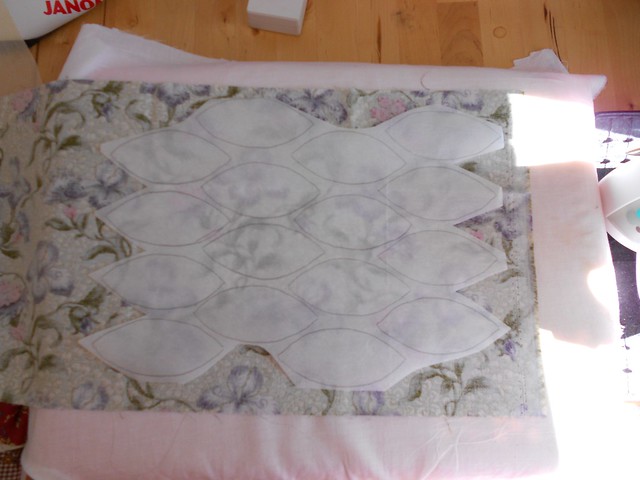
The overlap hid some of the lines but it was easy to trace over the single leaf to fill in the blank spaces. I cut out the A4 piece of fusible webbing paper and traced on the leaves.
I trimmed away the excess webbing paper. I will put all 16 on one piece of fabric. The next 16 on a different piece.
It only took about 10 mins to get them ready from tracing to cut out.
If you have any questions about how I scanned or made my sheet for tracing feel free to ask me.